Demo Script MiFirma
Use case summary
This demonstration within the ENTRUST DEMO HUB aims to showcase the platform's digital signing capabilities, focusing on user authentication, signature validation, and the inclusion of external participants in the signing process. It guides users through a sequence of actions, starting with a solo signing session, followed by the validation of the signature to confirm its authenticity without the use of a credential. The demo progresses to illustrate a more complex scenario involving multiple signatories, including an external participant, emphasizing the use of digital certificates for signing. The objective is to demonstrate the platform's flexibility and security features, highlighting how it ensures the integrity and verification of digital signatures, accommodating both internal and external users in a secure digital environment. This hands-on approach helps users understand the practical application of digital signing services and the robustness of the platform's authentication mechanisms.
Demo Flow
Log In: Initiate the demo by logging into the ENTRUST DEMO HUB platform using your credentials. This entry point ensures secure access to the demo environment.
Solo Signing Flow: Navigate to the solo signing flow section. Here, you will perform a simple signing operation. This step is designed to familiarize users with the process of adding a signature to a document without the need for additional signatories.
Use the Digital Signing Service: With the document signed in the previous step, proceed to validate the signature through the Signature Validation. This validation process aims to confirm the authenticity of the signature, specifically verifying that it was not signed using a recognized credential.
Create a Signature Flow: Move on to create a new signature flow. This process involves including yourself and adding an external email address that is not associated with MiFirma. It's crucial that this email address belongs to a participant outside of the organization to demonstrate the platform's capability to handle external signatories.
Set Digital Certificates for Signing: Configure the signature flow to require both parties to sign using digital certificates. This step emphasizes the security aspect of the signing process, ensuring that each signature is backed by a verifiable digital credential.
Verification of Credentials in Signed Document: After both signatures have been applied to the document, the final step involves demonstrating that the credentials of both signatories are visibly indicated on the signed document. This ensures transparency and provides a layer of trust, showing that each signature has been authenticated and secured with a digital certificate.
Pre-Requisites
A user account on the MiFirma Database or a user on the CIO Demo Hub.
If you do not have one, you can use the following credentials:
Company user:
User: XXX@interfase.uy
Password: Isa.1234
Company Administrator
Pass: Isa.1234
A PDF document stored locally that you intend to sign.
In case you intend to sign using a digital certificate:
A certificate capable of performing digital signatures (either stored online or on a physical device).
If you require an online stored digital credential read Demo Script CIO | Create-User
Instructions
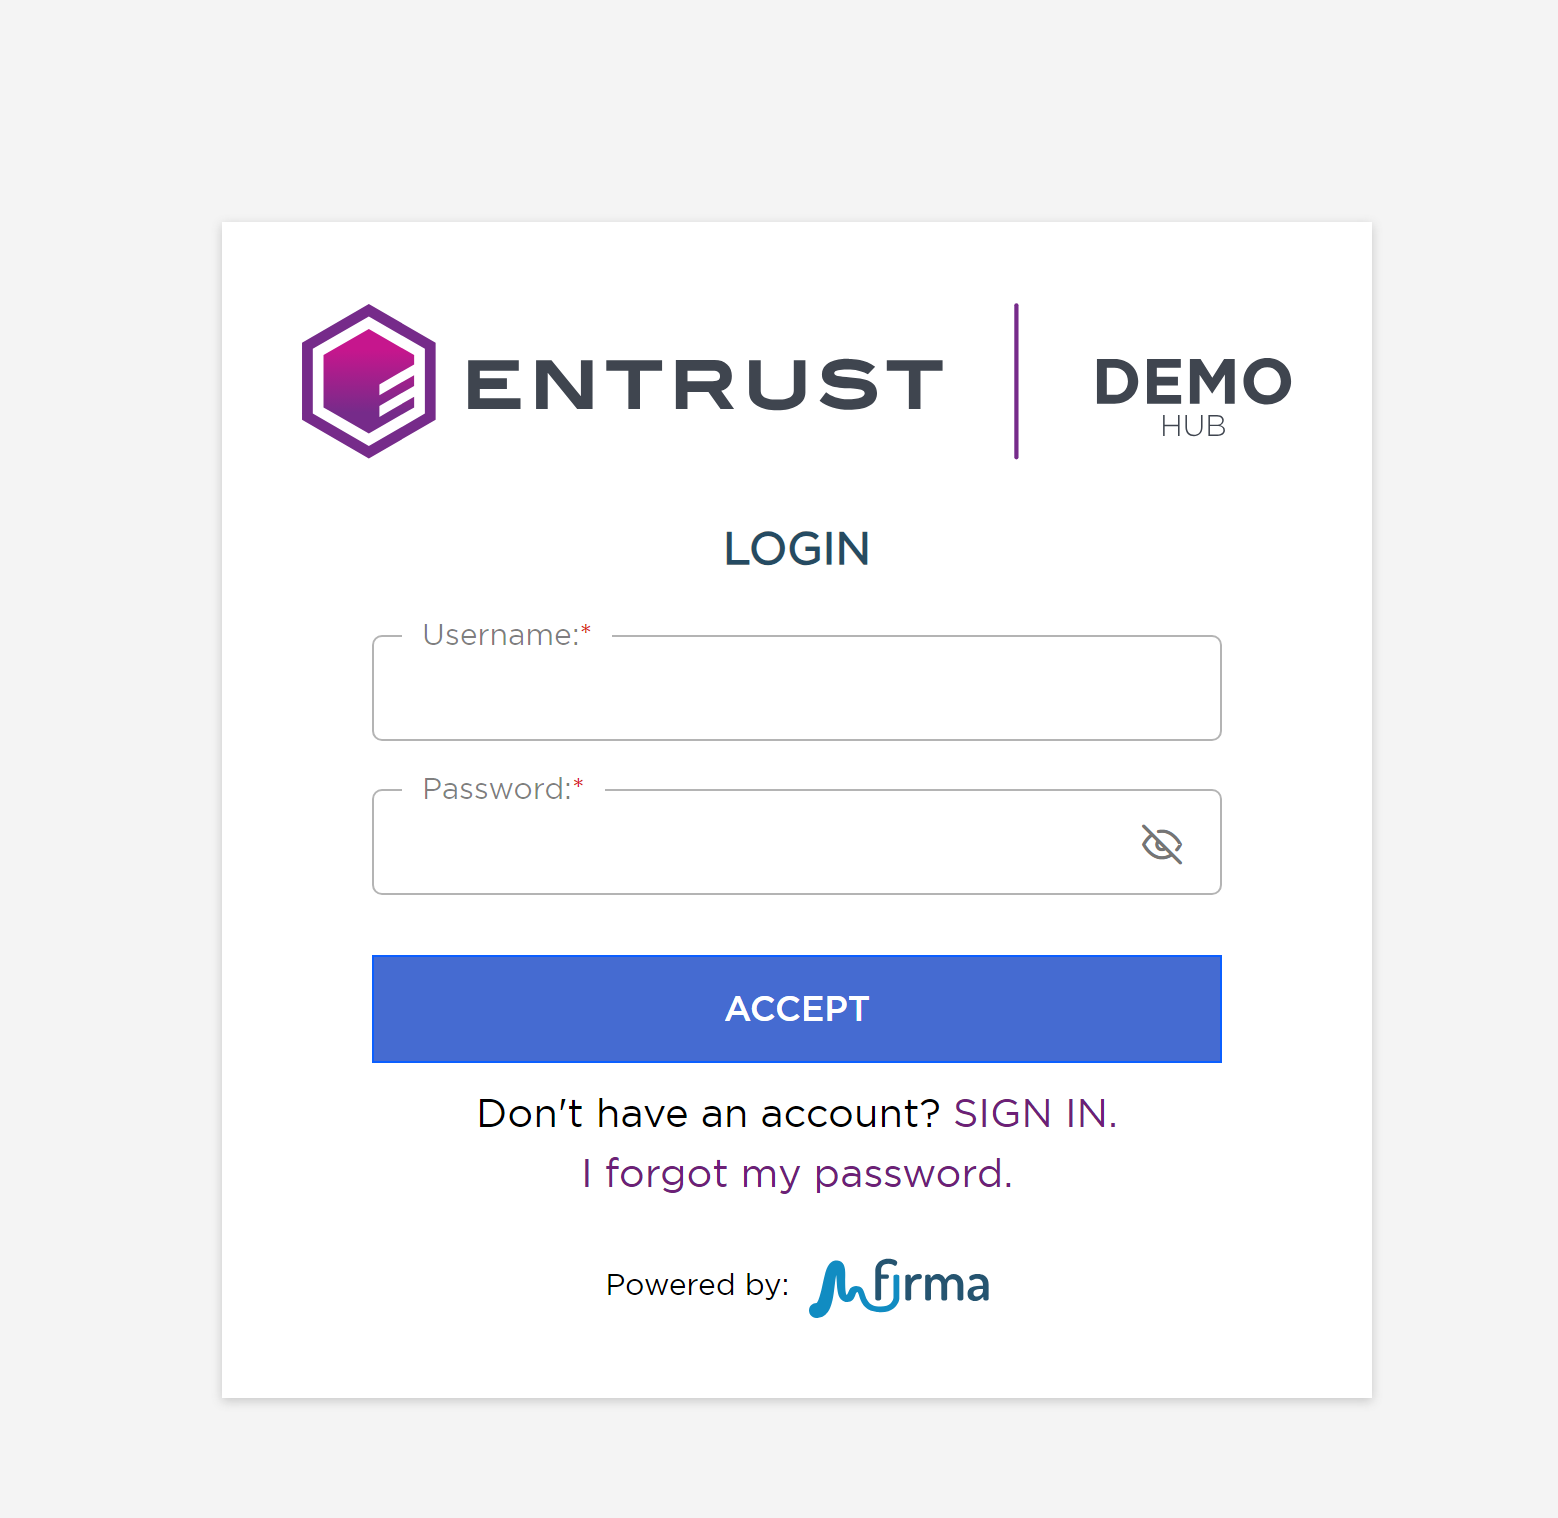
Login
By logging in, you will gain access to your personal account, whether as a company user or an administrator. You will then be redirected to the MiFirma dashboard screen.
Go to DemoHub MiFirma
Insert your username
Insert your password
Click [Accept]
You now have the opportunity to explain elements displayed on the screen.
--Explanations Dashboard--
Uploading a document
By following these steps, you will upload a document to the system for signing. You can sign it yourself or create a signing flow that involves other people. The signatures can be either simple or digital. Additionally, you can define the information you will request from each signer.
These steps can be executed by both company administrators and company users. However, we recommend performing them using a company user account.
Drag and drop your desired file from your PC into the designated area on the User Portal Dashboard, or alternatively, click on one of the icons on the same screen.
You are now ready to proceed with either the 'Solo Signing' or 'Creating a Flow' part of the demo. Please note that you will need to either complete or cancel your current process, and then start these steps again to select a new option.
Solo Signing
After uploading a document to the system, you can perform a Solo Signing. This process involves the following steps:
Click on [Sign Document]

When you initiate the signing process, a popup will appear for you to select the type of signature:
For this step of the demo, you can choose either 'Simple' or 'Certificate' signing. After selecting the signature type, you will be redirected to the Document Preparation View.
Creating a Flow
After selecting the 'Create Signature Flow' button, the Receivers Configuration section is displayed. Here's a breakdown of the process:
To add signers, start by clicking the (+) button. This action will open the 'Add Signers' popup.
Contact
Displaing the users previesli added as contacts
Directory
Displaing the users that belong to the same organizations as you
New
Allowing to add users via there email
This allows to involve individuals that do not have a MiFirma account
We recommend selecting two users to participate in the flow. This should include the current user you are logged in as and a new user using an external email account not associated with MiFirma.
Once the senders are selected, click the 'Add' button to confirm. If you wish to cancel the receiver selection, you can do so by clicking on the 'Exit' button.
Select the type of signature flow, and choose 'Sequential.'
Please note that there are multiple signature flow options not yet available:
Sequential:
Define an order for the recipients to sign.
Parallel:
Recipients can sign in whichever order they prefer.
Combined:
Allows you to set some users to sequential and others to parallel.
Multiple:
Sends a copy of the document to each user instead of having them sign on the same document.
Select the option 'Continue'
After selecting the option, you will be redirected to the Document Preparation View.
Document Preparation
In the Document Preparation View, the 'Selectable Recipients' field will be displayed on the right panel. This field lists all the recipients defined in the previous step. The sender is required to select each recipient and specify which fields they should sign.
In the case of performing a solo signing, all the selected fields will refer to your account as the sole signer.
The sender must, at a minimum, select the Signature field for each recipient.
If you have uploaded more than one document, the 'Apply Changes' button becomes available. Upon selecting this button, all the signature fields defined in one document will be automatically applied to the other documents.
Once you have selected the parameters for each recipient, proceed by selecting 'Finalize'. In the case of performing a solo signing, the button will be labeled 'Sign'.
When performing a signature flow:
The Document Preparation View will be closed, and the system will redirect you to your Inbox Tray.
In the Sent Tray, the document will appear with an 'In Progress' status.
An email notification will be sent to the first receiver defined in the flow. They will receive the document in their Inbox Tray with a 'Pending' status.
Subsequent receivers will not be notified or see the document in their tray until all the previous signers have already signed.
When performing a solo sign:
You will initiate the 'Sign Document'.